由于单位工作需求,平时需要经常配置交换机,而单位所使用的设备为神州数码的产品,他的命令跟华为和思科的不一样,网上的教程很多也是比较复杂。
所以今天就来分享一下一台普通的二层接入交换机该如何进行快速配置。我所演示的型号为神州数码ES450-52P,48个电口、4个光口。
首先是在淘宝上购买一根USB转 Console口的数据线,以便可以在笔记本上轻松使用,安装数据线附带的驱动就可以使用SecureCRT软件
(中文版下载地址:https://xwenw.com/soft/6019/)进行连接了。在串口连接的时候端口选择USB的就行,然后数据位为8。由于神舟数码的产品一般的波特率时一般都是115200或者9600。你可以试一下,如果第一个不行就换一个波特率就行了。

教程正式开始:
ES450-52P>enable 进入特权模式
ES450-52P#show run 查询交换机是否有配置
ES450-52P#config 进入特权配置模式
ES450-52P(config)#hostname jxl2-2 修改设备名称
jxl2-2(config)#username admin privilege 15 password admin 设置网页端用户名密码
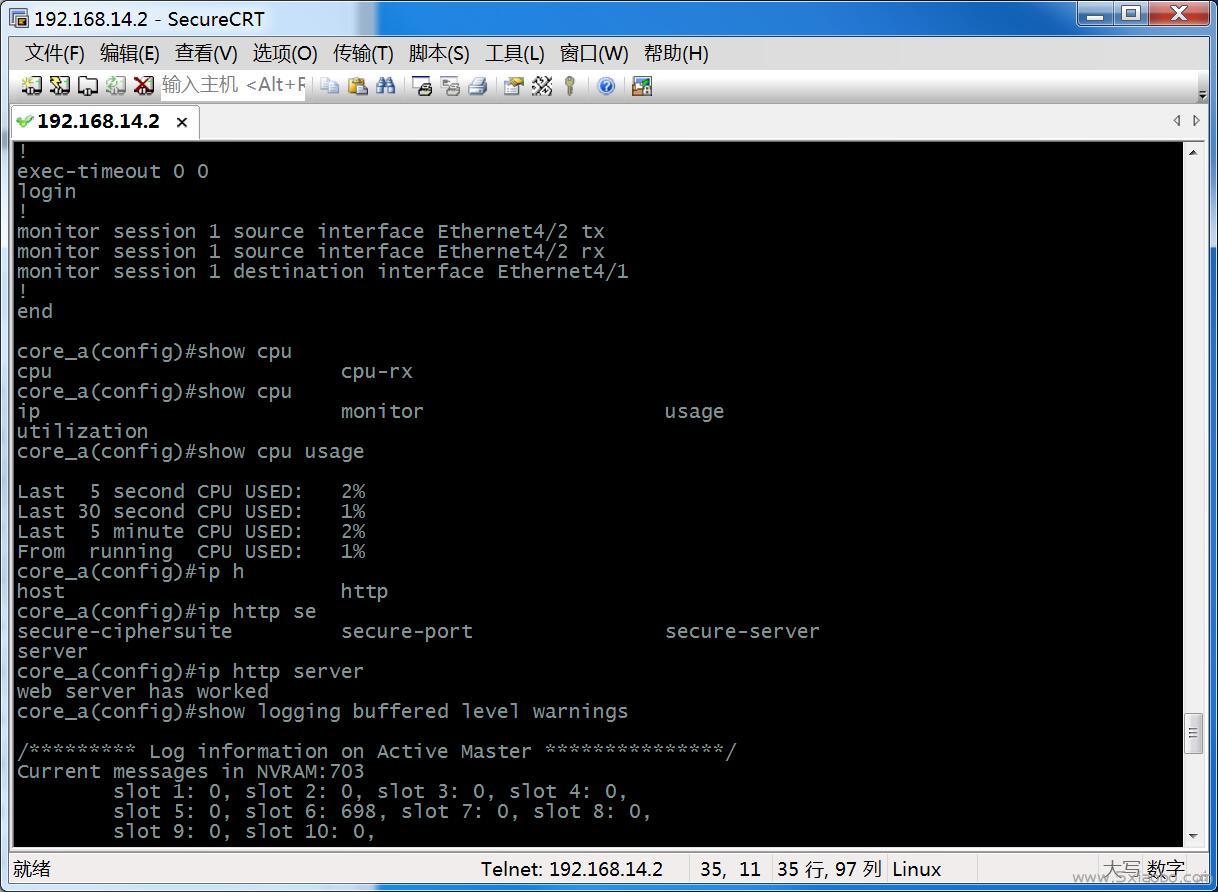
jxl2-2(config)#ip http server 查看网页服务是否正常
web server has worked
jxl2-2(config)#end 结束
jxl2-2#write 保存
Write running-config to current startup-config successful
jxl2-2#%Jan 01 00:05:39 2006 Write configuration successfully!
jxl2-2#show interface ethernet status 查看设备接口状态(此处查看设备是否已有配置)
jxl2-2# config 进入特权模式
jxl2-2(config)#vlan 1-100 创建1-100的Vlan端口
jxl2-2(config)#interface ethernet 1/0/1-48 进入1-48电口配置(此处为52口交换机)
jxl2-2(config-if-port-range)#switchport access vlan 19 为端口分配vlan19端口
jxl2-2(config-if-port-range)#exit 退出
jxl2-2(config)#interface vlan100 进入vlan100
jxl2-2(config-if-vlan100)#ip address 192.168.14.31 255.255.255.0 添加vlan100的管理地址
jxl2-2(config-if-vlan100)#end
jxl2-2#write
Confirm to overwrite current startup-config configuration [Y/N]:y
Write running-config to current startup-config successful
jxl2-2#%Jan 01 00:14:49 2006 Write configuration successfully!
jxl2-2#show ip interface brief 查看vlan配置信息
Index Interface IP-Address Protocol
11001 Vlan1 192.168.1.1 down
11100 Vlan100 192.168.14.31 down
17500 Loopback 127.0.0.1 up
jxl2-2#config
jxl2-2(config)#interface ethernet 1/0/49-52 配置四个光口交换用
jxl2-2(config-if-port-range)#switchport mode trunk 设置四个光口为trunk模式
Set the port Ethernet1/0/49 mode Trunk successfully
Set the port Ethernet1/0/50 mode Trunk successfully
Set the port Ethernet1/0/51 mode Trunk successfully
Set the port Ethernet1/0/52 mode Trunk successfully
jxl2-2(config-if-port-range)#exit
jxl2-2(config)#exit
jxl2-2#write
jxl2-2#config
jxl2-2(config)#loopback-detection interval-time 10 10
jxl2-2(config)#loopback-detection control-recovery timeout 360
jxl2-2(config)#exit
jxl2-2#write
Confirm to overwrite current startup-config configuration [Y/N]:y
Write running-config to current startup-config successful
jxl2-2#%Jan 01 00:30:30 2006 Write configuration successfully!
jxl2-2#config
jxl2-2(config)#interface ethernet 1/0/1-48 进入1-48口端口
jxl2-2(config-if-port-range)#loopback-detection specified-vlan 19 设置环路检测
jxl2-2(config-if-port-range)#loopback-detection control shutdown 设置环路关闭
jxl2-2(config-if-port-range)#end
jxl2-2#write
Confirm to overwrite current startup-config configuration [Y/N]:y
Write running-config to current startup-config successful
jxl2-2#%Jan 01 00:32:37 2006 Write configuration successfully!
jxl2-2>enable 进入特权模式
jxl2-2#set default 重置交换机
Are you sure? [Y/N] = y
jxl2-2#write 必须保存才生效
jxl2-2#reload 必须重启
Process with reboot? [Y/N] y 输入y进行重启
jxl2-2#
The system is going down NOW!
注:附带三个查询交换机网络故障的命令(必须在特权模式enable下进行)
1、Show log buf le wa 查询日志
2、Show loopback 查询环路状态
3、Ter mo 查询环路日志


评论(0)