
1.1 准备环境
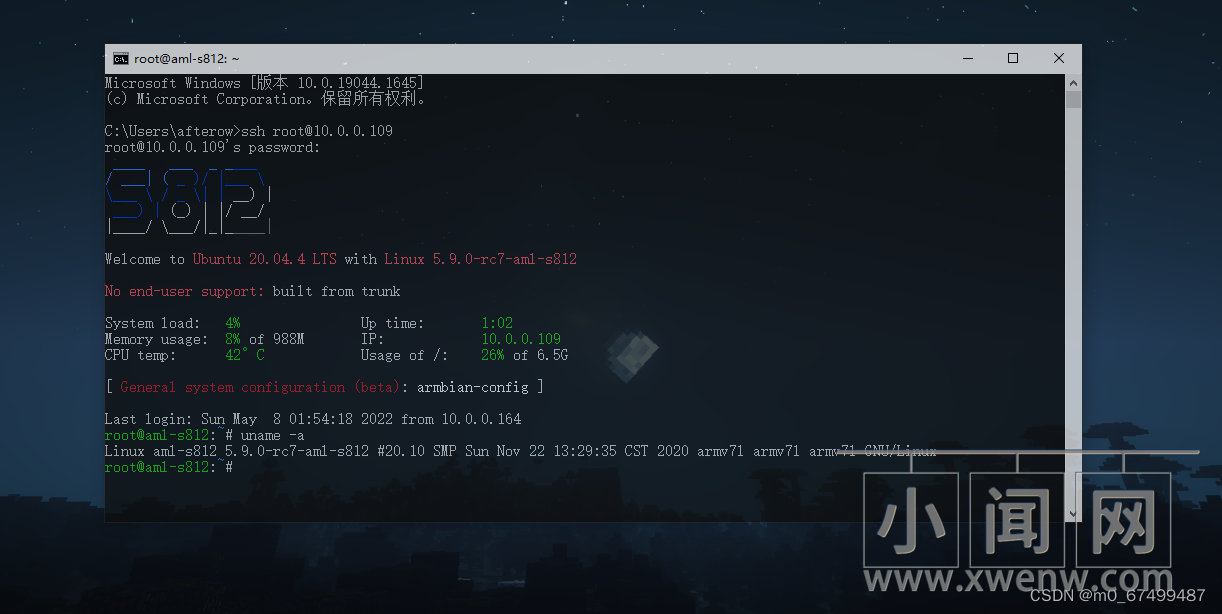
环境:Linux aml-s812 5.9.0-rc7-aml-s812 #20.10 SMP Sun Nov 22 13:29:35 CST 2020 armv7l armv7l armv7l GNU/Linux
1.2 其他
其他:一个不需要太聪明的大脑以及一点点时间和一点点耐心
1.3目录
2.安装软件
2.1.1登录玩客云
2.1.2更新
2.2安装nginx
2.3安装php7.4
2.4安装Mariadb
3.配置环境
3.1配置nginx
3.2配置Mariadb
3.2.1安全设置
3.2.2 账户设置
3.2.2 远程连接MySQL
4.1新增wordpress账户
5.Wordpres使用
5.1下载Wordpres
5.1wordpres
2.安装软件
2.1.1登录玩客云
2.1.2更新
更新软件信息和更新软件
apt update
apt upgrade -y
2.2安装nginx
输入apt-get -y install nginx回车
apt-get -y install nginx
然后就安装成功了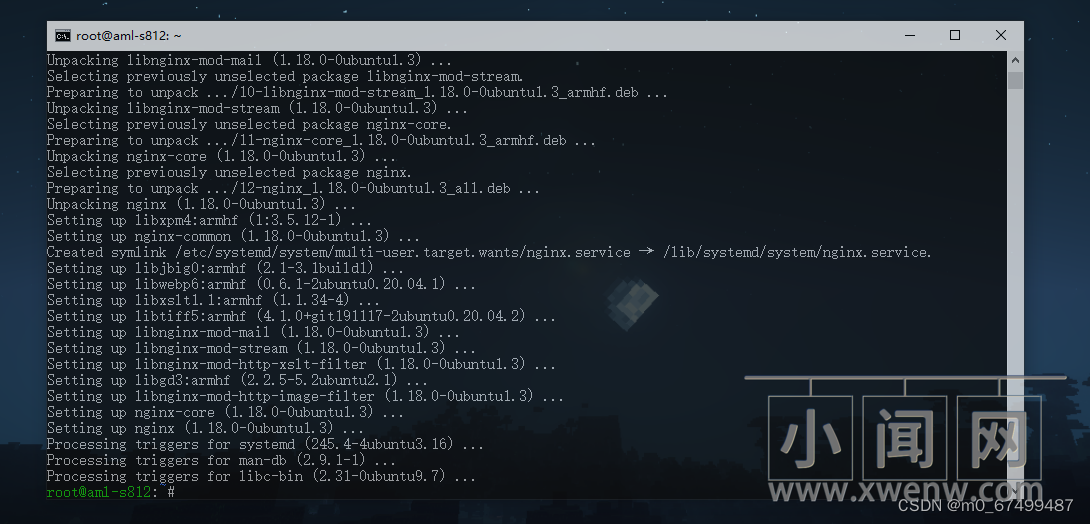
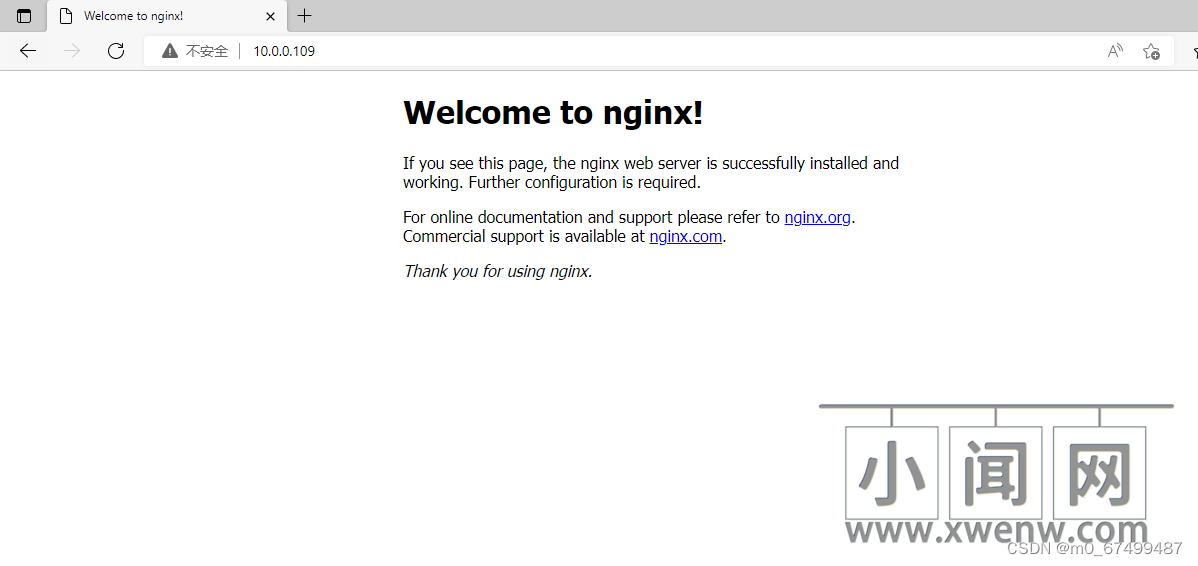
输入玩客云ip地址我这里是:10.0.0.109
2.3安装php7.4
复制回车远行,然后等
apt install -y php7.4 php7.4-fpm php7.4-mysql php7.4-gd php7.4-curl php7.4-mbstring php7.4-xml php7.4-xmlrpc php7.4-json php7.4-zip php7.4-intl php7.4-xsl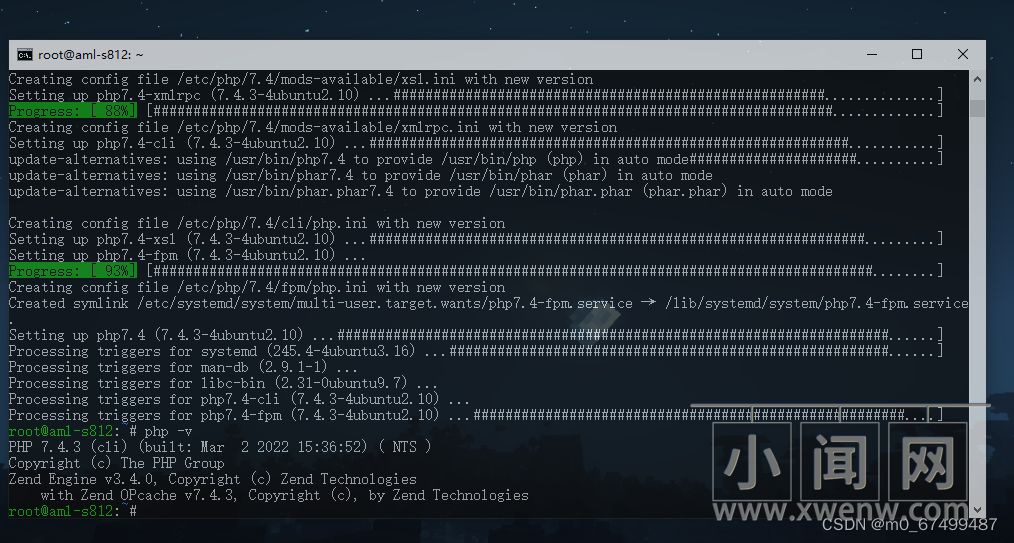
php -v查询版本号
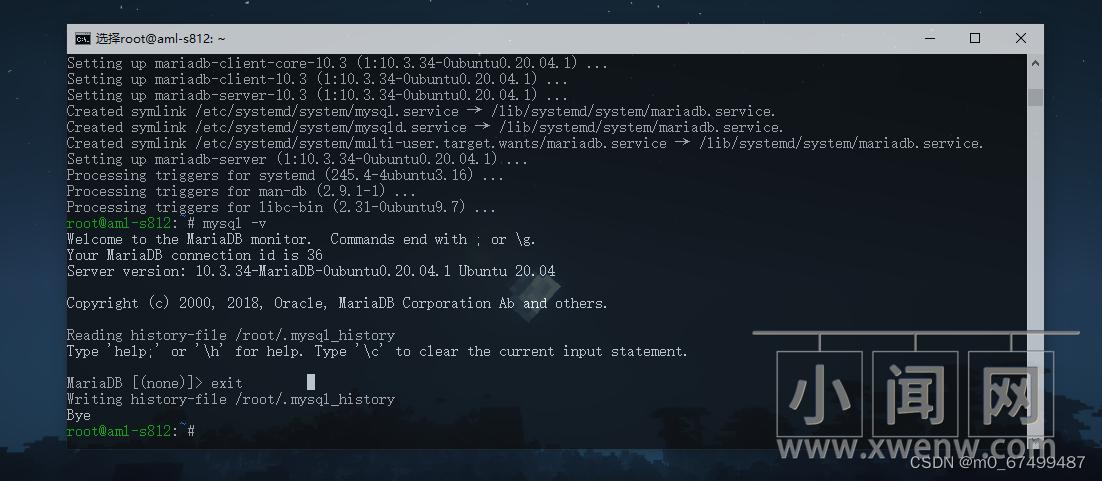
2.4安装Mariadb
apt install -y mariadb-servermysql -v查询版本号
3.配置环境
3.1配置nginx
首先输入vim /etc/nginx/sites-enabled/default,打开nginx配置文件
vim /etc/nginx/sites-enabled/default在44行前面添加index.php,56行和60行以及63行去除行头#号
如图所示
输入nginx -t
root@aml-s812:~# nginx -t
nginx: the configuration file /etc/nginx/nginx.conf syntax is ok
nginx: configuration file /etc/nginx/nginx.conf test is successful
表示没有问题
重新启动nginx
service nginx restart新建测试页面文件(后面记得删除)
echo "<?php phpinfo(); ?>">/var/www/html/info.php
浏览器打开ip/info.php
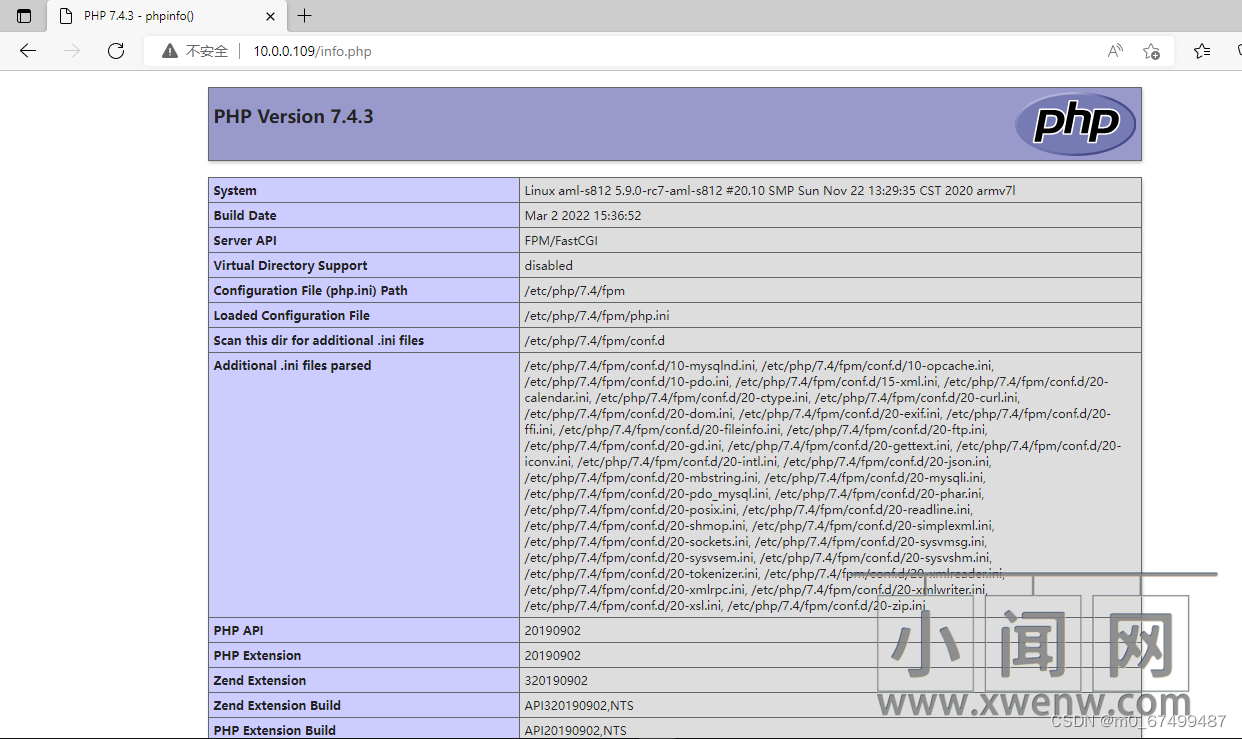
就可以看到php的相关信息了
3.2配置Mariadb
3.2.1安全设置
输入mysql_secure_installation
NOTE: RUNNING ALL PARTS OF THIS SCRIPT IS RECOMMENDED FOR ALL MariaDBSERVERS IN PRODUCTION USE! PLEASE READ EACH STEP CAREFULLY!In order to log into MariaDB to secure it, we'll need the current password for the root user. If you've just installed MariaDB, and you haven't set the root password yet, the password will be blank, so you should just press enter here.Enter current password for root (enter for none):注意:建议所有人都运行此脚本的所有部分服务器在生产中使用!请仔细阅读每一步!为了登录MariaDB以确保其安全,我们需要当前根用户的密码。如果你刚刚安装了MariaDB您尚未设置根密码,密码将为空,所以你应该在这里按回车键。输入root用户的当前密码(输入无):我们刚刚安装,没有密码直接回车
Setting the root password ensures that nobody can log into the MariaDB root user without the proper authorisation.You already have a root password set, so you can safely answer 'n'.Change the root password? [Y/n]设置root密码可以确保任何人都无法登录MariaDB未经适当授权的root用户。您已经设置了根密码,因此可以安全地回答“n”。更改根密码?[是/否]输入y设置一个简单而且你记得住密码 我这里是P@ssW0
By default, a MariaDB installation has an anonymous user, allowing anyone
to log into MariaDB without having to have a user account created for
them.  This is intended only for testing, and to make the installation
go a bit smoother.  You should remove them before moving into a
production environment.Remove anonymous users? [Y/n]
默认情况下,MariaDB安装有匿名用户,允许任何人登录MariaDB而无需为其创建用户帐户他们这仅用于测试和安装再平稳一点。你应该在搬进公寓前把它们取下来生产环境。删除匿名用户?[是/否]y 删除就完了
Normally, root should only be allowed to connect from 'localhost'. This ensures that someone cannot guess at the root password from the network.Disallow root login remotely? [Y/n]通常,root用户只能从“localhost”连接。这确保有人无法从网络中猜到根密码。不允许根用户远程登录?[是/否]n方便修改
By default, MariaDB comes with a database named 'test' that anyone can access. This is also intended only for testing, and should be removed before moving into a production environment.Remove test database and access to it? [Y/n]默认情况下,MariaDB附带一个名为“test”的数据库,任何人都可以使用通道这也仅用于测试,应移除在进入生产环境之前。删除测试数据库并访问它?[是/否]n没有用直接删除
Reloading the privilege tables will ensure that all changes made so far will take effect immediately.Reload privilege tables now? [Y/n]重新加载特权表将确保迄今为止所做的所有更改将立即生效。现在重新加载特权表吗?[是/否]y
3.2.2 账户设置
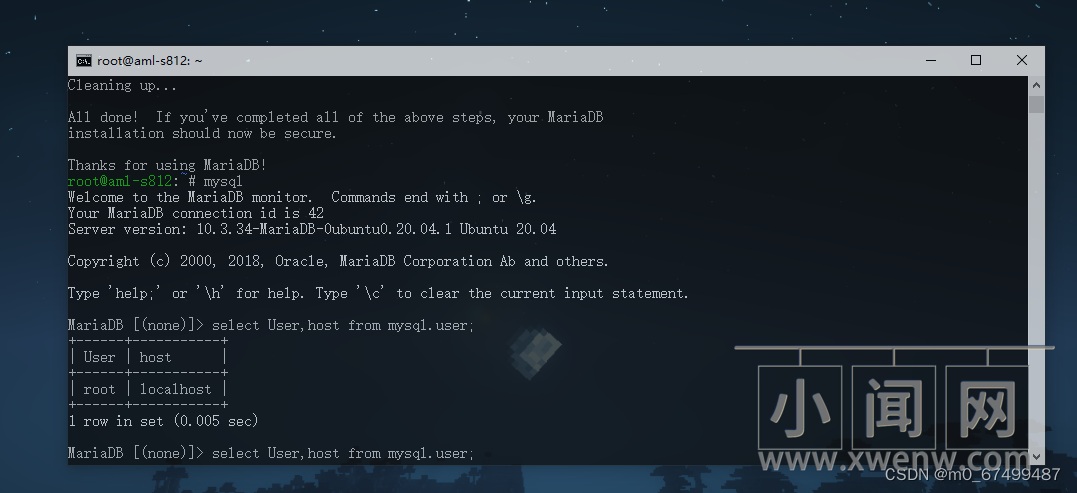
直接输入mysql直接登录
mysql查询用户表
select User,host from mysql.user;
使用mysql数据库
use mysql;GRANT ALL PRIVILEGES ON *.* TO 'root'@'%' IDENTIFIED BY '6166b2002fdcb5df' WITH GRANT OPTION;ALTER USER 'root'@'%' IDENTIFIED BY '6166b2002fdcb5df';ALTER USER 'root'@'localhost' IDENTIFIED BY 'P@ssW0rd';update user set plugin = 'mysql_native_password' where user = 'root';添加一个可以从任何地址登录的root账户密码建议复杂一点
flush privileges;刷新
exit退出
vim /etc/mysql/mariadb.conf.d/50-server.cnf把29行bind-address = 127.0.0.1 改为 bind-address = 0.0.0.0
systemctl restart mysql重启Mariadb
3.2.2 远程连接MySQL
mysql -u root -p -h 10.0.0.109
拿cmd连接看看
4.1新增wordpress账户
create user wordpress@'10.0.0.%' identified by '02fdcb5df';
create database www_wordpress default charset utf8;
grant all on www_wordpress.* to wordpress@'10.0.0.%' identified by '02fdcb5df';
新建账户,新建数据库,给权限
5.Wordpres使用
5.1下载Wordpres
wget https://cn.wordpress.org/latest-zh_CN.tar.gz
tar xvzf latest-zh_CN.tar.gz
rm -rf html
mv wordpress html
给www的读写权限
chown -R www-data /var/www/html
chmod -R 755 /var/www/html
5.1wordpres
浏览器输入ip
按自己的输入信息
安装完成


评论(0)